How to Master Handstand Exercises: 17 Tips and Drills for Success
|
|
Time to read 7 min
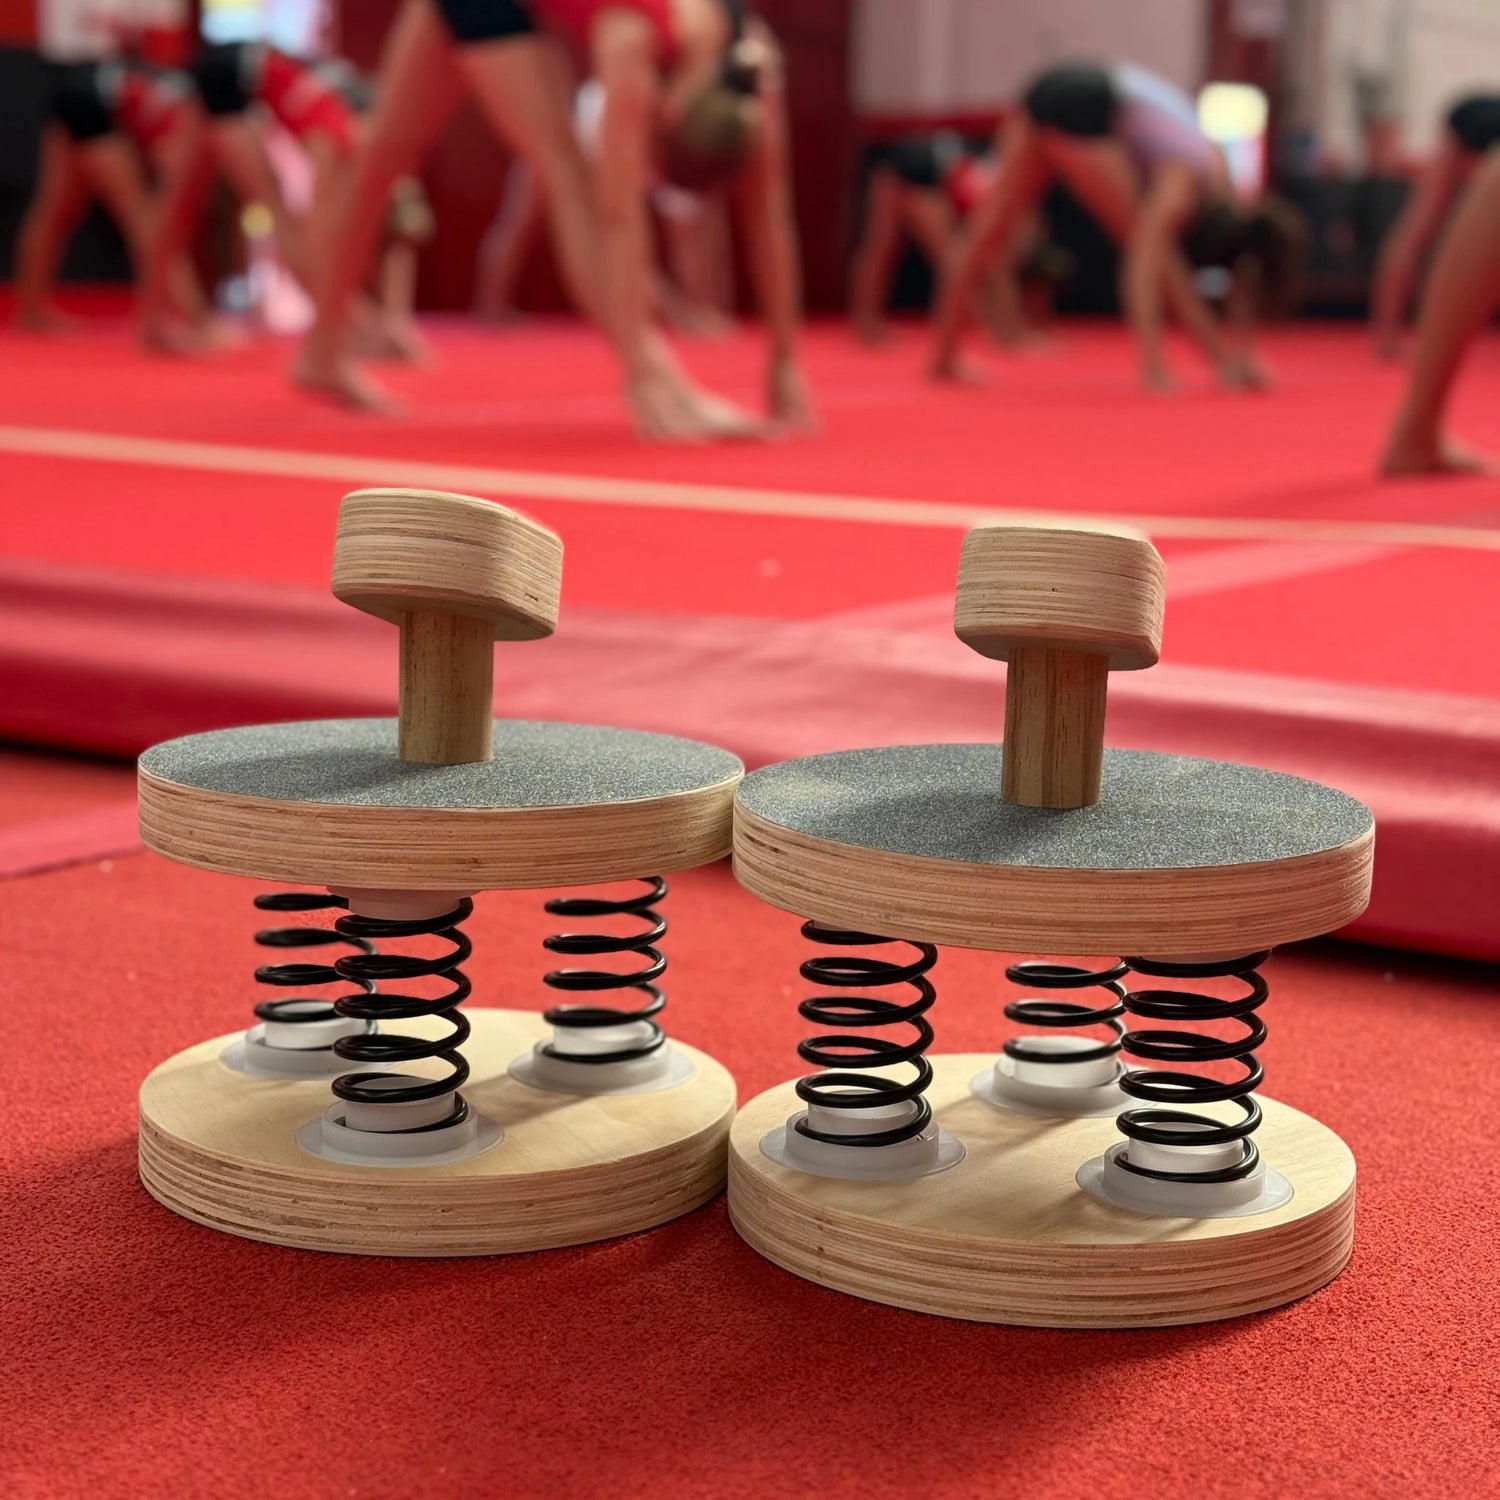
Check out our exciting new balance product launches. Developed and tested by...
|
|
Time to read 7 min
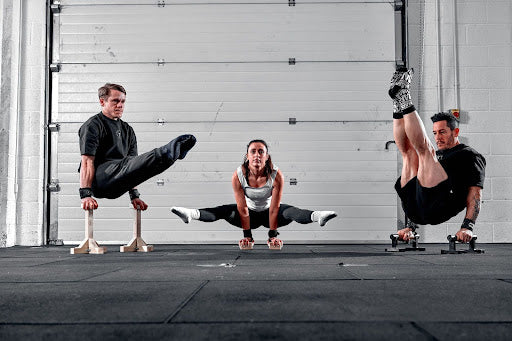
The handstand is a captivating skill that combines strength, balance, and control.
Whether you're an absolute beginner or someone with some experience attempting them for the first time, mastering a handstand requires dedication, regular practice, and a focus on key areas of your body.
In this guide, we’ll explore the best handstand exercises and warm ups to develop the strength, mobility, and technique needed to achieve a perfect handstand.
One of the most important skills for achieving a stable handstand is developing core strength.
Your core muscles, which include the abdominals, obliques, and lower back, play a vital role in maintaining a straight line during a handstand.
A strong core helps you control your body position, ensuring that your hips, legs, and torso are aligned properly.` Take a look at these recommended handstand exercises to improve your core.
Core Strength Drills:
Hollow Hold: This exercise is a great way to build core strength. Lie on your back with your lower back pressed into the floor. Lift your legs and shoulders off the ground, keeping your arms overhead. Hold this position for as long as you can while maintaining a strong core.
Plank Position: Holding the plank are effective full-body handstand exercises that also targets the core. Make sure to keep your body in a straight line from head to heels, engaging your core throughout.
Your shoulder muscles and shoulder mobility are crucial for supporting your body weight during a handstand. Without enough strength and flexibility in your shoulders, you’ll struggle to achieve good form.
Below are our top two handstand exercises for shoulder strength.
Shoulder Strength Drills:
Shoulder Shrugs: In a wall handstand or plank position, push through your shoulders to shrug them up towards your ears. This movement helps build strength in the shoulder blades and upper back, which is essential for a stable handstand.
Pike Position Push-Ups: These are excellent for strengthening the shoulders. Start in a downward dog position with your hands and feet on the ground, and then lower your head towards the floor while keeping your arms straight.
Wrist strength and mobility are often overlooked but are critical components of a successful handstand. Your wrists bear much of the weight, and without adequate strength and flexibility, you risk injury.
Wrist Strength Drills:
Wrist Warm-Ups: Before any handstand practice, perform wrist circles, wrist flexor and extensor stretches, and gentle wrist push-ups to prepare your wrists.
Top of the Hands Push-Ups: These are performed with the back of your hands on the ground, gently pushing up and down to strengthen the wrists.
If you’re an absolute beginner, starting with a wall handstand is one of the best ways to build confidence and strength.
Wall handstands allow you to focus on your handstand shape without worrying about balance. They are by far one of the best handstand exercises to get you started.
Wall Handstand Progression:
Wall Walk: Start in a plank position with your feet against the wall. Slowly walk your feet up the wall while walking your hands closer to the wall until your chest touches the wall. Hold this position to build shoulder strength and become comfortable upside down.
Wall Kick-Ups: Face away from the wall and kick up one leg at a time until both feet touch the wall. This drill helps you practice the kick-up motion and get used to the feeling of being in a handstand position.
Body awareness and alignment are critical in achieving a good handstand. You need to understand how to engage different muscles and maintain the correct posture to hold a handstand.
Alignment Drills:
Straight Line Drill: Practice standing against a wall with your heels, glutes, and shoulders touching the wall. This helps you feel the straight line needed in a handstand.
Belly Button to Spine: Engage your core by pulling your belly button towards your spine. This cue helps maintain a strong core and straight body alignment during the handstand.
Regular practice of specific handstand drills is essential to progress. Incorporating these drills into your routine will help you build the strength and balance needed for a freestanding handstand.
Key Handstand Exercises and Drills:
Wall-Facing Handstands: These are different from the traditional wall handstand. In this variation, face the wall and walk your hands closer to the wall with your feet up. This helps you practice the correct body alignment and shift your weight into the hands.
Press Handstand: Start in a forward fold with your hands on the ground and your hips over your wrists. Slowly press into a handstand by lifting your legs up without kicking. This advanced move requires significant core and shoulder strength.
Handstand Kick-Ups: Practice kicking up into a handstand without using the wall. Focus on controlling the kick while your front leg takes your full weight and finding your balance point at the top.
Achieving a freestanding handstand is the final piece of the puzzle in your handstand journey. This move requires strength, balance, and the ability to maintain proper alignment without any support.
Freestanding Handstand Tips:
Focus on Balance Point: The most important thing is to find and maintain your balance point. This is where your whole body is aligned, and your weight is distributed evenly over your hands.
Body Alignment: Keep your body in a straight line from your hands to your toes. Engage your core, straighten your legs, and keep your arms and shoulders strong.
One of the main issues people face is finding and maintaining balance in a handstand. Good balance requires practice, patience, and an understanding of how to control your body.
Balance Tips:
Use Your Fingers: Your fingers play a crucial role in maintaining balance. Pressing into the ground with your fingers helps you make small adjustments to keep your balance.
Shift Your Weight: Learn to shift your weight slightly in different directions to stay balanced. This comes with practice and developing body awareness.
Another common challenge is a lack of shoulder strength and mobility. Without strong shoulders and flexible shoulder blades, holding a handstand can put a lot of strain on your joints.
Overcoming Shoulder Issues:
A weak core or lower back can lead to poor body alignment and difficulty holding a handstand.These core and lower back handstand exercises will ensure they are strong enough to support your handstand practice.
Strengthening the Core and Lower Back:
Core Exercises: In addition to hollow holds and planks, include exercises like leg raises and superman holds in your routine to target the lower back.
Regular Practice: Consistent practice of core and lower back exercises will gradually build the strength needed for a good handstand.
Before attempting handstands, it’s essential to warm up your whole body, particularly the shoulders, wrists, and core.
Effective Warm-Ups:
Dynamic Stretches: Perform dynamic stretches like arm circles, leg swings, and torso twists to increase blood flow and prepare your muscles.
Yoga Session: A short yoga session focusing on poses like downward dog, forward fold, and plank position is a great way to prepare your body for handstands.
Incorporate handstand drills into your regular training sessions. Start with simpler exercises like wall handstands and gradually progress to more challenging drills as you build strength and confidence.
Progression Tips:
Start Small: Begin with a few minutes of handstand practice each day, and gradually increase the time as you become more comfortable.
Mix It Up: Use different positions, such as the pike position or wall-facing handstands, to challenge your body in different ways.
The most important thing in mastering handstands is consistency. Regular practice of handstand exercises, combined with a positive and patient mindset, is key to making progress.
Mindset Tips:
Embrace the Journey: Understand that mastering handstands takes time and hard work. Celebrate small victories along the way.
Focus on Technique: Always prioritize good form and handstand technique over simply holding the position. This will help you avoid injury and achieve better results.
Once you’ve mastered the freestanding handstand, you can challenge yourself further with handstand push-ups. This advanced move requires significant shoulder and upper body strength.
Handstand Push-Up Tips:
Use a Wall First: Start with wall handstand push-ups to build strength and confidence before attempting them freestanding.
The press handstand is one of the advanced handstand exercises that involves lifting your legs into a handstand from a standing or sitting position without jumping or kicking up.
Press Handstand Tips:
Strength and Flexibility: Ensure you have enough strength in your core, shoulders, and back muscles, as well as flexibility in your hamstrings, to execute this move.
To keep your handstand exercises interesting, try different handstand challenges, such as holding the position for longer periods, transitioning between different handstand shapes, or practicing on uneven surfaces.
Challenge Ideas:
Mastering a handstand is a rewarding journey that requires dedication, strength, and patience.
By focusing on building core strength, improving shoulder mobility, and practicing handstand exercises regularly with the right drills and techniques, you can progress from your first handstand to advanced variations like the press handstand and handstand push-ups.
Remember that the most important thing is to enjoy the process and embrace the challenges along the way.
With consistent practice of these handstand exercises and a positive mindset, you’ll not only achieve a perfect handstand but also gain a deeper understanding of your body and its capabilities. So, grab your yoga mat, warm up your wrists, and start your handstand journey today!


