It's Not Too Late to Learn a Handstand
There's a persistent myth that handstands are for the young and already-flexible. It's simply not true. Adults in their 40s, 50s, and beyond are learning handstands every day — and in many ways, they're better students than younger athletes. They're more patient, more consistent, and more willing to do the foundational work properly.
What does change with age is how you train. Recovery takes longer, joint health matters more, and the ego needs to be left at the door. But the goal? Absolutely achievable.
The Benefits of Handstand Training for Older Adults
Beyond the obvious cool factor, handstand training offers real, measurable benefits:
- Bone density — weight-bearing through the wrists and shoulders stimulates bone remodelling
- Shoulder stability — builds the rotator cuff and scapular muscles that protect against injury
- Core strength — a handstand is essentially a full-body plank with added challenge
- Balance and proprioception — critical for fall prevention as we age
- Mental sharpness — learning new motor skills keeps the brain plastic and engaged
- Posture — counteracts the forward rounding that comes from desk work and daily life
What to Expect as an Older Beginner
Progress is slower — and that's fine
Younger athletes may see rapid neurological adaptation. Older adults typically take longer to build the motor patterns, but the strength gains are just as real. Expect a 6–12 month journey to a consistent wall-supported handstand, and longer for freestanding.
Recovery matters more
You may need 48–72 hours between handstand sessions rather than training daily. This isn't a weakness — it's physiology. Use rest days for mobility work and light conditioning.
Wrist health is non-negotiable
Wrists are often the limiting factor for older adults. Build wrist strength and flexibility before loading them heavily. If you have existing wrist issues, handstand canes are a game-changer — they allow you to train with a neutral wrist position, dramatically reducing strain.
How to Start: A Beginner-Friendly Progression
Phase 1: Foundation (Weeks 1–4)
Focus entirely on preparation — no kicking up yet.
- Wrist prep: circles, flexion/extension stretches, prayer stretches — 5 minutes daily
- Hollow body holds: 3 × 20–30 seconds on the floor
- Pike shoulder taps: hands on the floor, hips high, tap alternate shoulders
- Wall plank: face the wall, hands close, hold a tight body line for 20–30 seconds
Phase 2: Wall Work (Weeks 5–12)
- Chest-to-wall handstand: face the wall, walk hands in close, hold 10–20 seconds
- Back-to-wall handstand: kick up with back to wall, work on body alignment
- Shoulder taps against the wall: builds the balance reflex safely
Use handstand blocks during wall work to elevate your hands slightly, reduce wrist compression, and improve your shoulder angle — particularly helpful if you have tight shoulders or wrist sensitivity.
Phase 3: Balance Work (Month 3+)
- Pirouette drills: one hand briefly lifts off the wall
- Bail practice: learn to come down safely before going freestanding
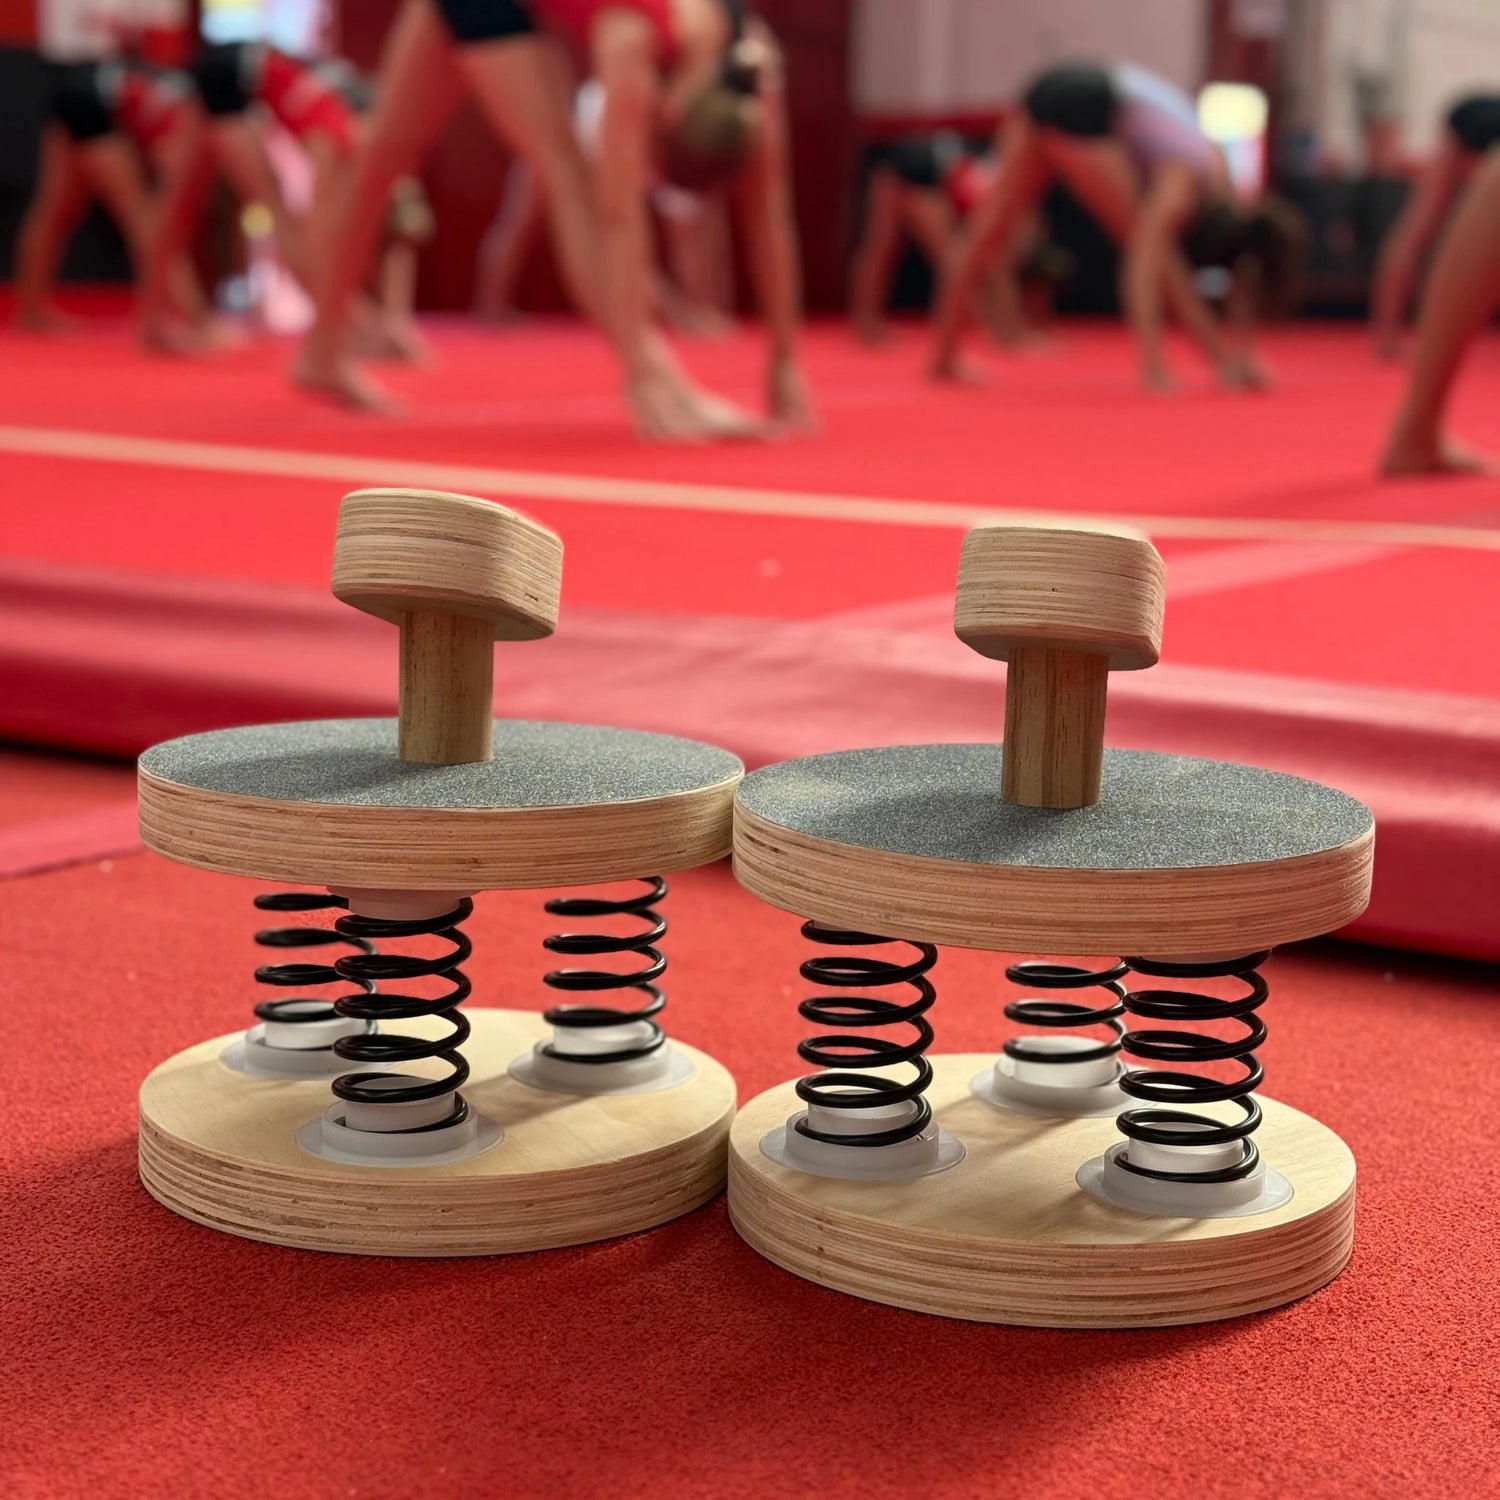
- Wobble blocks: introduce instability to train the fine balance corrections that freestanding requires
Key Principles for Training Over 40
1. Warm up properly — every time
Cold joints and tendons are injury-prone. Spend 10 minutes warming up wrists, shoulders, and spine before any handstand work. Non-negotiable.
2. Train 2–3 times per week, not daily
Consistency over intensity. Three quality sessions per week will outperform daily grinding every time, especially when recovery is slower.
3. Use grip aids
Sweaty hands are a safety issue. Gymnastics liquid chalk gives you a dry, consistent grip without the mess of block chalk — essential for confident, controlled practice.
4. Get coaching early
Bad habits are harder to unlearn than good ones are to learn. Even a few sessions with a coach can save months of frustration. Our Balance Foundation programme includes 1:1 online coaching tailored to your level — ideal if you want structured, personalised guidance from the start.
5. Listen to your body — but don't catastrophise
Muscle soreness is normal. Sharp joint pain is not. Learn the difference and act accordingly. Most handstand-related niggles in older adults come from overuse, not acute injury — and they respond well to rest and load management.
Common Mistakes Older Adults Make
- Skipping the foundation phase — jumping to kicking up before building wrist and shoulder prep
- Training through pain — especially wrist or shoulder discomfort that persists between sessions
- Comparing progress to younger athletes — your timeline is your own
- Neglecting flexibility — tight shoulders make a straight handstand nearly impossible; prioritise overhead mobility
- Going it alone — handstand training has a steep learning curve; coaching or community makes a significant difference
The Bottom Line
Handstand training after 40 isn't about defying age — it's about working with your body intelligently. The adults who succeed are the ones who respect the process, train consistently, and invest in the right support and equipment.
You don't need to be young. You need to be patient, prepared, and willing to show up.
Ready to start? Explore our range of handstand training equipment designed to support every stage of your journey — from first wall holds to freestanding balance.