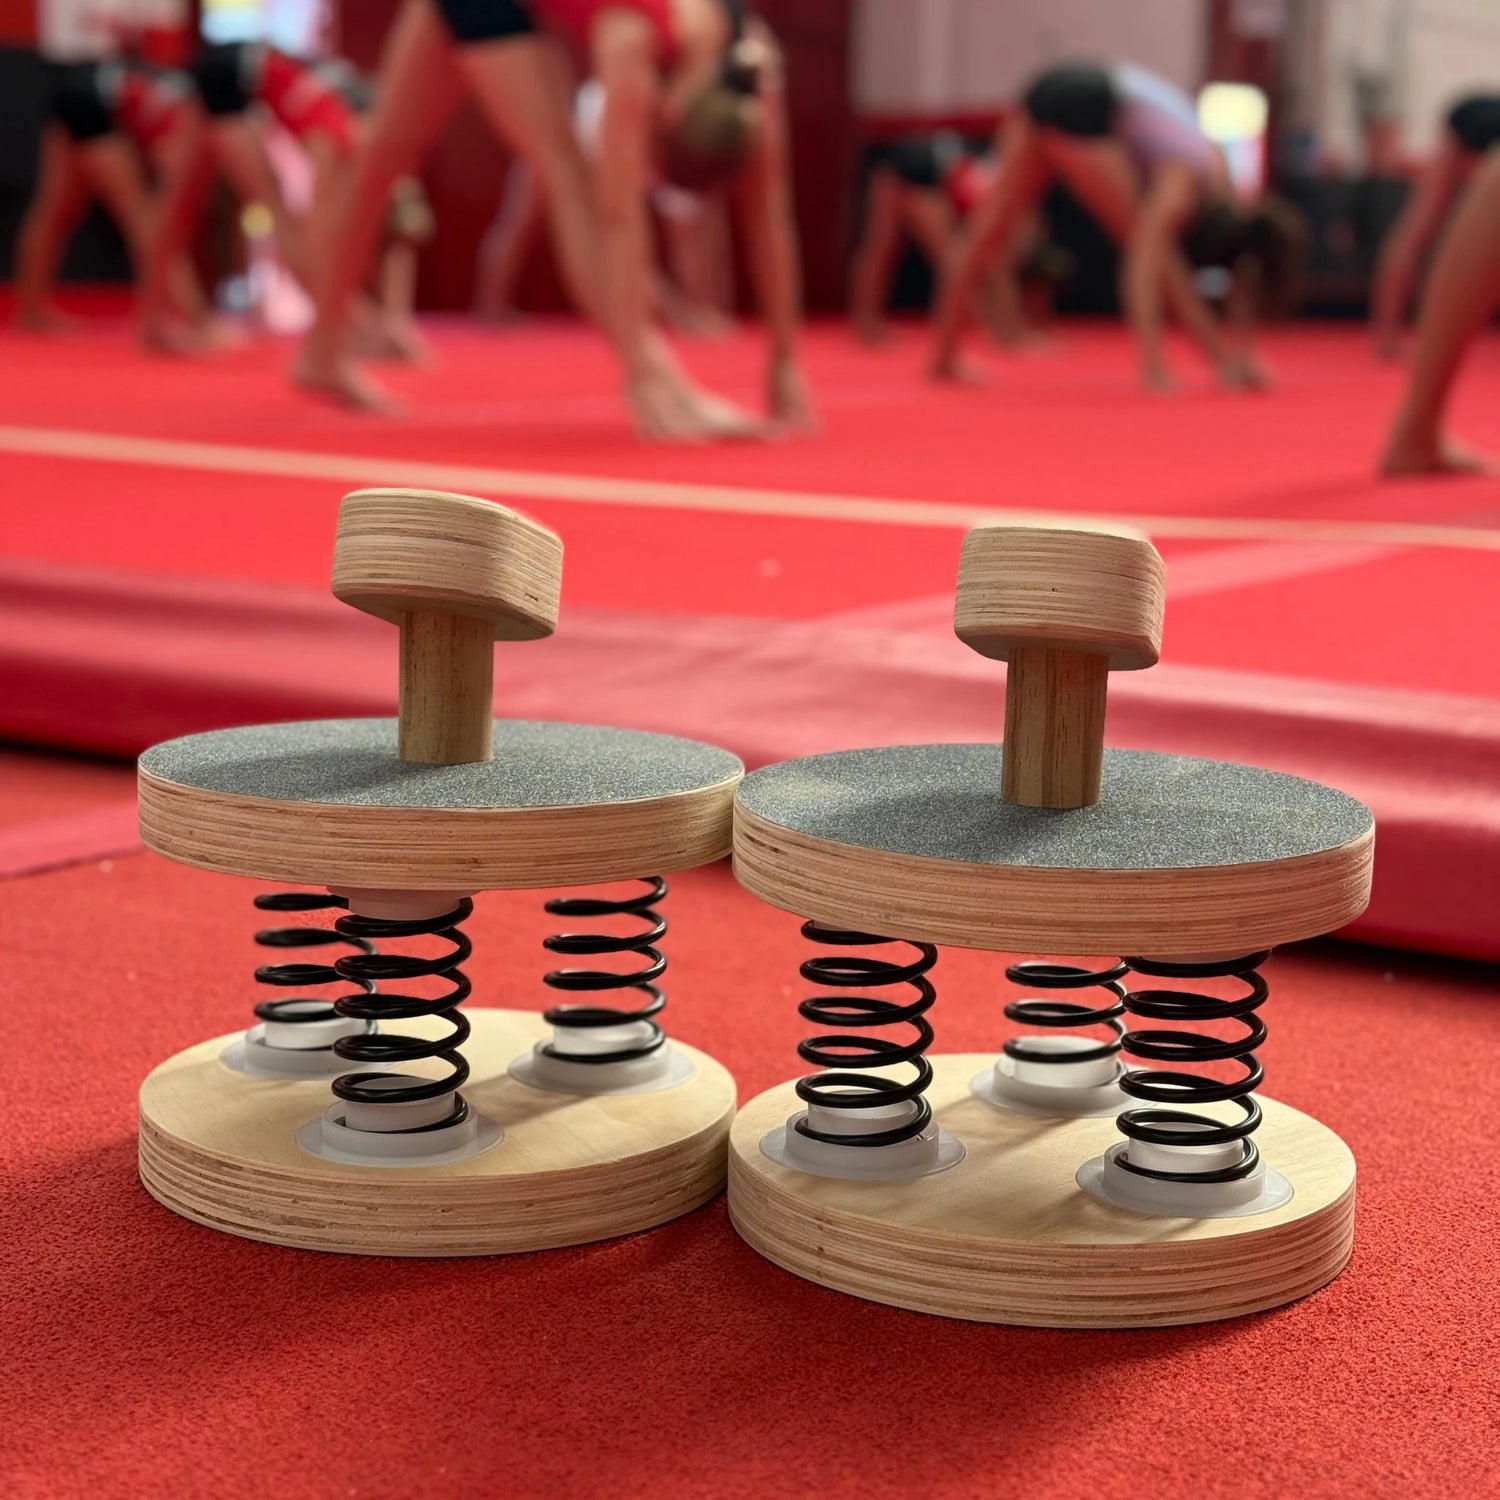
Your training equipment deserves a little attention between sessions. Wooden handstand blocks, cane tops and parallette grips are contact points you rely on, so looking after them is about more than keeping them tidy.
A sensible routine starts with three habits: follow the care instructions for your particular product, store it somewhere dry and inspect it before training. This guide covers general principles, not a replacement for the manufacturer's instructions. Different finishes, pads and fixings may require different care.
1. Start with the product's care instructions
Before using a cleaner or changing a grip surface, check the instructions supplied with your equipment. Do not assume a method suitable for one wooden product is suitable for another.
If the instructions do not cover something you need to clean or repair, ask the supplier first. It is better to check than to alter a surface or fixing that affects how the equipment performs.
2. Remove loose chalk and dust gently
After training, use a soft, dry cloth to remove loose dust and chalk where the product's instructions permit. Work gently around edges, joints and grip surfaces rather than scraping them with a hard tool.
Keep an eye on build-up underneath the equipment too. Dust or chalk on the floor and contact pads can affect the training setup. Clean the floor appropriately and inspect the pads before your next session.
Do not apply oil, wax, furniture polish or a coating to a gripping surface unless the manufacturer specifically recommends it. A surface that looks beautifully polished is not necessarily suitable for supporting your training.
3. Avoid soaking wooden components
Wooden equipment should not be treated like something you can leave in a bucket of water. Avoid soaking, rinsing under a tap or using a steam cleaner unless the manufacturer expressly allows that method.
If damp wiping is approved for your product, use only the amount of moisture and type of cleaner specified. Allow the equipment to dry fully before storing or using it. Do not improvise with strong chemicals or disinfectants: their suitability depends on the material, finish and other components.
For a spill, follow the product's guidance. If you cannot establish whether the equipment remains sound after water exposure, set it aside and contact the supplier.
4. Store your equipment somewhere dry
Choose a dry, reasonably stable indoor environment. Avoid leaving wooden equipment in a damp shed, beside a radiator or exposed to prolonged direct sunlight. Moisture and changing conditions can affect wood and its finish.
Store pieces so they cannot fall, be crushed or have heavy objects piled onto them. Keep equipment clean and dry before placing it in a bag, and avoid leaving it sealed in a damp training bag after a session.
If your kit includes metal bases, fasteners or removable components, follow their storage guidance as well. Looking after the wooden grip alone is not enough.
5. Inspect before every session
Before you put your bodyweight through the equipment, take a moment to inspect it in good light. Look at the whole product, not just the top surface.
- Check wooden parts for cracks, splinters, separation or a change in shape.
- Look for loose, missing or damaged fixings and movement at joints.
- Check that pads and feet are present, correctly attached and in suitable condition.
- Inspect metal components for visible damage or corrosion.
- Confirm the equipment sits as intended on a suitable level surface.
A quick inspection cannot guarantee safety, but it can help you notice reasons to stop before training. If something has changed or you are unsure, do not test it by attempting a handstand.
6. Take care of non-slip pads and feet
Contact pads are part of the setup, not an optional finishing touch. Check their placement and condition, and follow the manufacturer's cleaning and replacement instructions.
Do not replace missing pads with random tape, scraps of rubber or other improvised materials. Ask the supplier which replacement parts are suitable. A pad that appears similar may have different dimensions, adhesion or grip characteristics.
Even with correctly fitted pads, the floor matters. Avoid wet, dusty, uneven or otherwise unsuitable surfaces, and check stability before starting your session.
7. Do not improvise structural repairs
A crack, loose joint or damaged fixing is not something to cover up and train through. Set the equipment aside and contact the supplier for advice about assessment, approved repairs or replacement.
Do not sand a grip, add glue, change screws or modify the construction unless you have specific guidance for that product. Removing material or changing a component may affect strength, fit or grip.
For adjustable or assembled equipment, use the specified assembly and tightening procedure. Overtightening can be a problem too, so avoid guessing.
8. Pack carefully when travelling
Clean and dry your equipment before packing. Protect wooden edges and grip surfaces from knocks, and keep loose metal parts from rubbing against them. Secure components so they do not shift or damage each other during transport.
Follow any disassembly instructions rather than taking apart components that are not designed to be removed. On arrival, inspect the kit and set it up again according to the manufacturer's guidance before using it.
When should you stop using equipment?
Stop using a piece if you notice cracking, splintering, unexpected movement, damaged fixings or another change that makes its condition uncertain. The same applies after a significant impact or exposure that could have caused damage.
There is no single replacement timetable that suits every wooden training product. Construction, use, storage and condition all matter. Do not assume that a product is safe because it is new, or unsafe solely because it has been owned for a long time. Follow the manufacturer's limits and seek advice when its condition is in doubt.
A simple post-training routine
- Remove loose dust and chalk using an approved method.
- Check for damage or changes you noticed during the session.
- Allow equipment to dry fully if moisture is present.
- Store it securely in a suitable dry place.
- Set aside anything that needs the supplier's attention.
The takeaway
Looking after wooden gymnastics equipment does not need to become a complicated project. Follow the product's instructions, keep it clean and dry, and make a pre-session check part of your routine.
When something looks or feels different, pause rather than improvise. Your next training session can wait while you get the right advice.
Looking for equipment for your next training session? Visit Balance Addicts to explore our products and find the right kit for your goals.